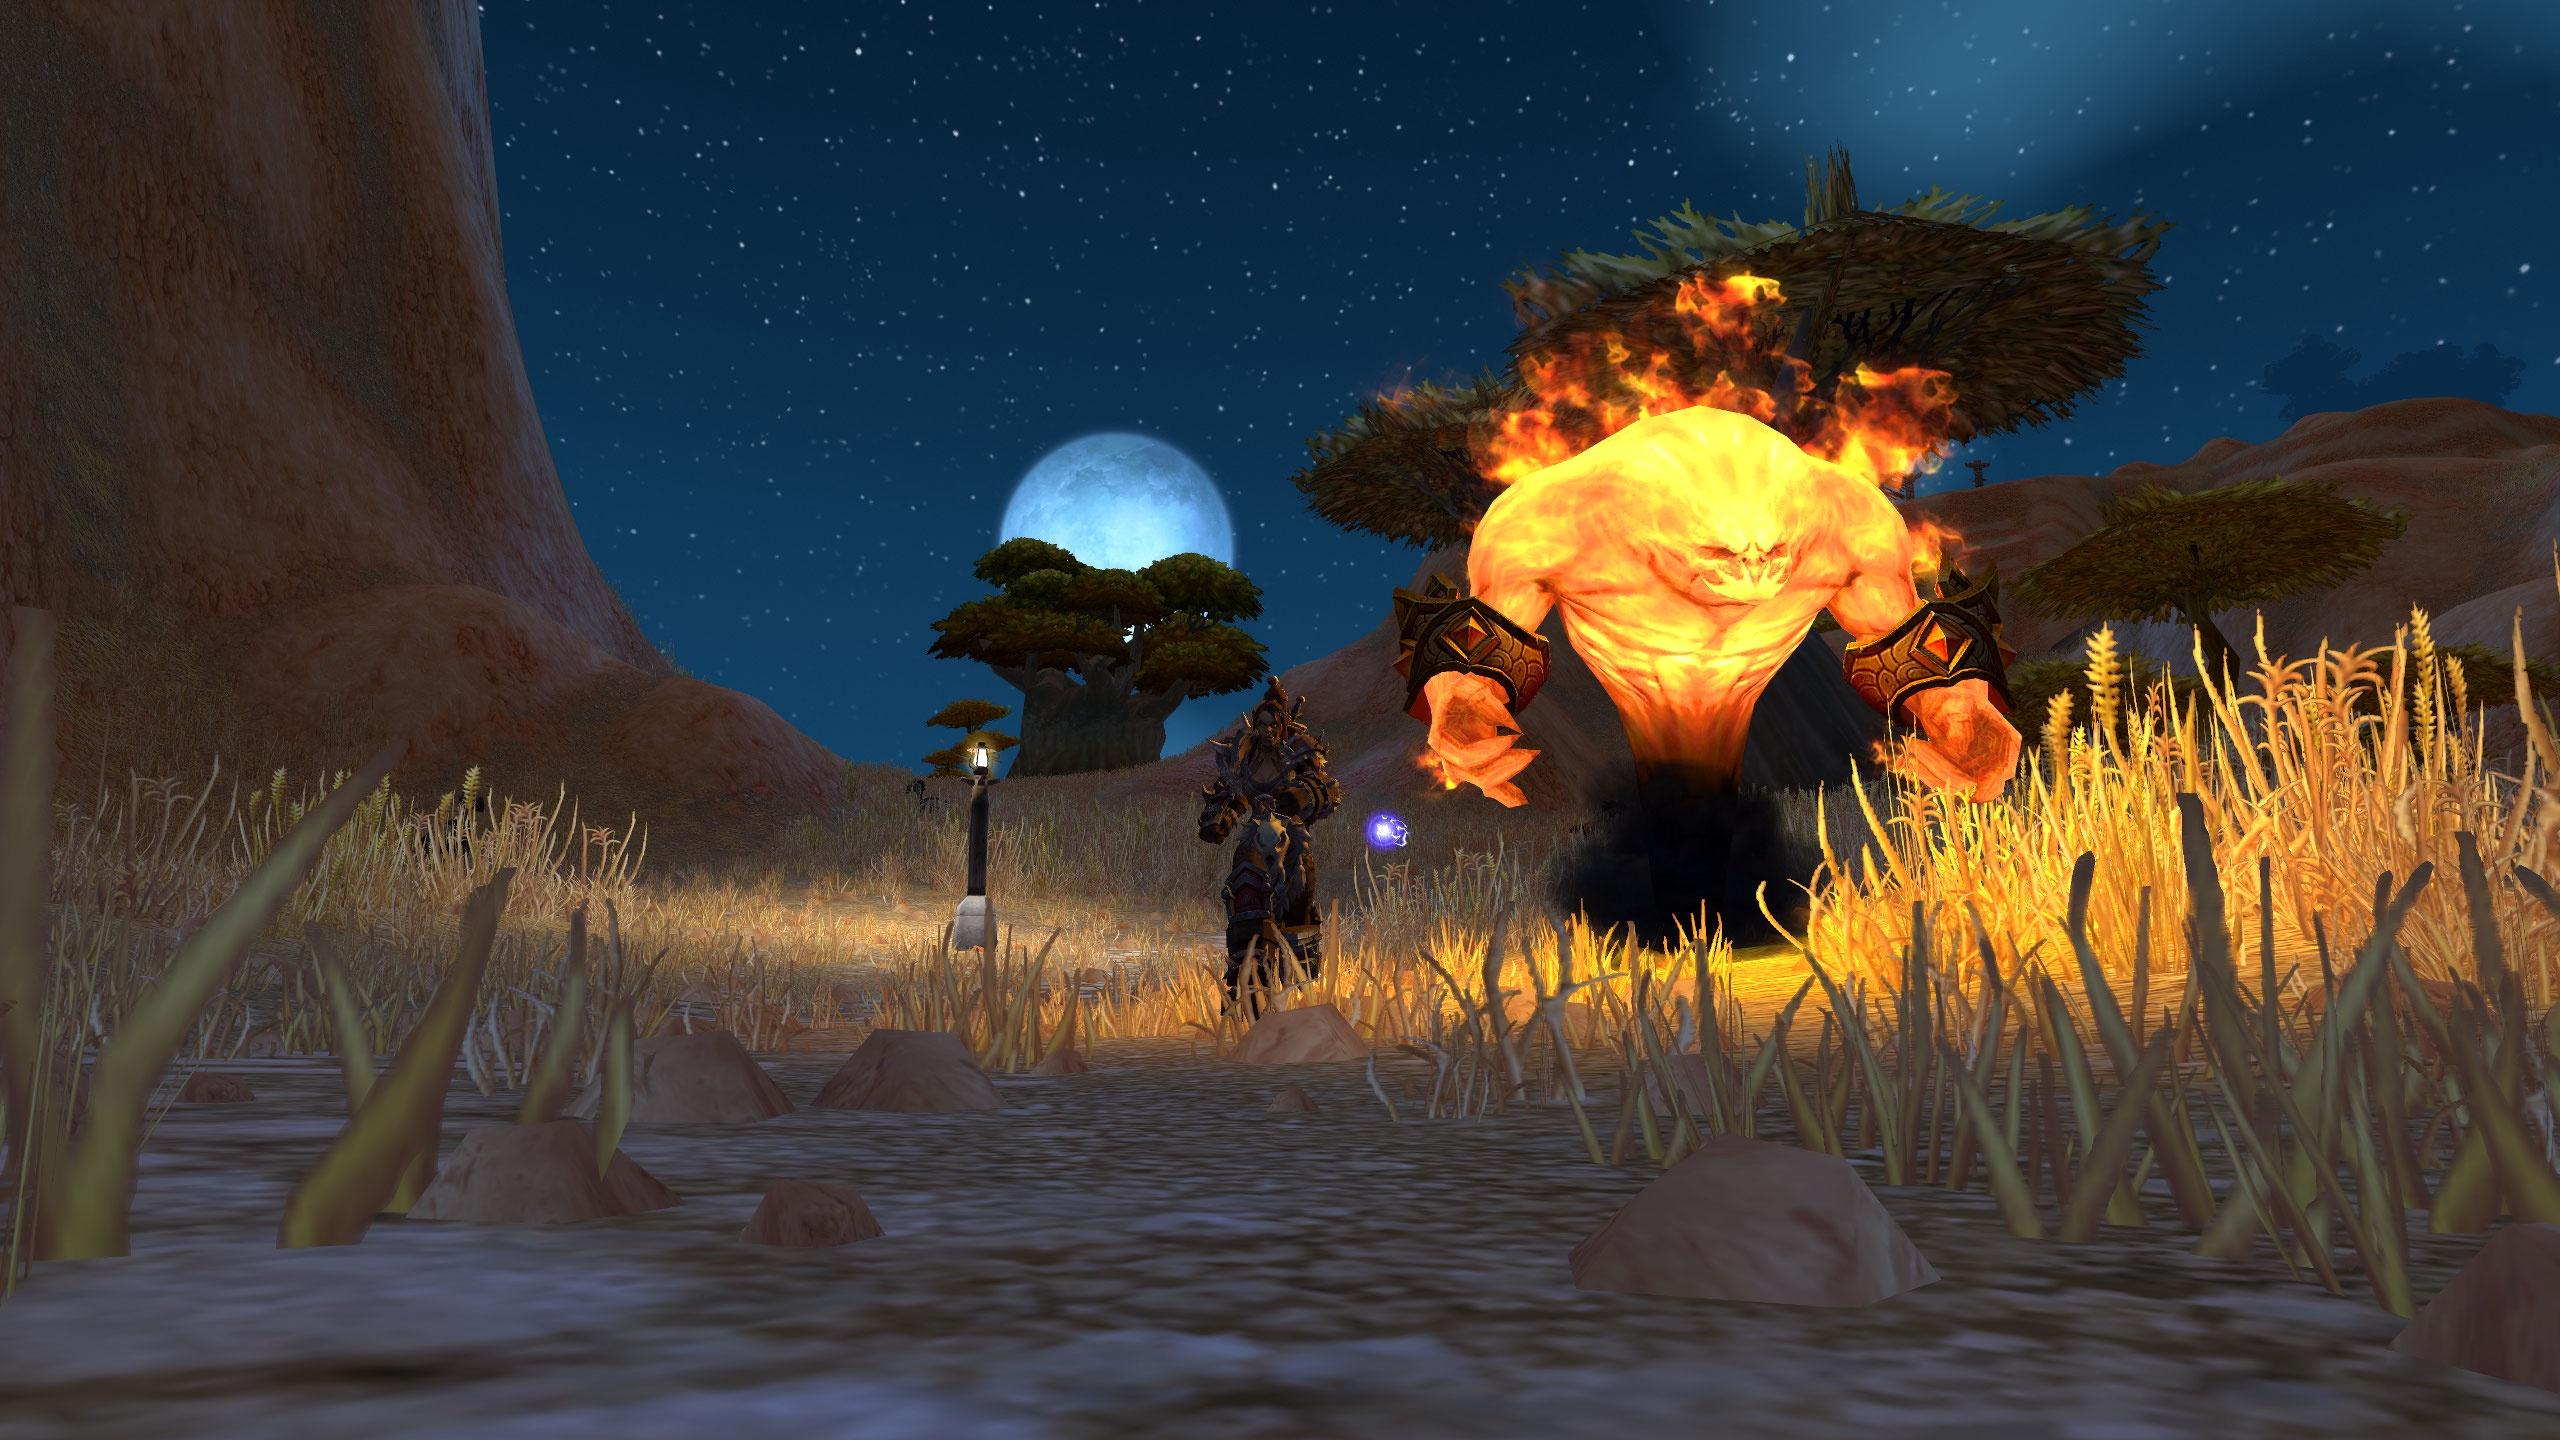
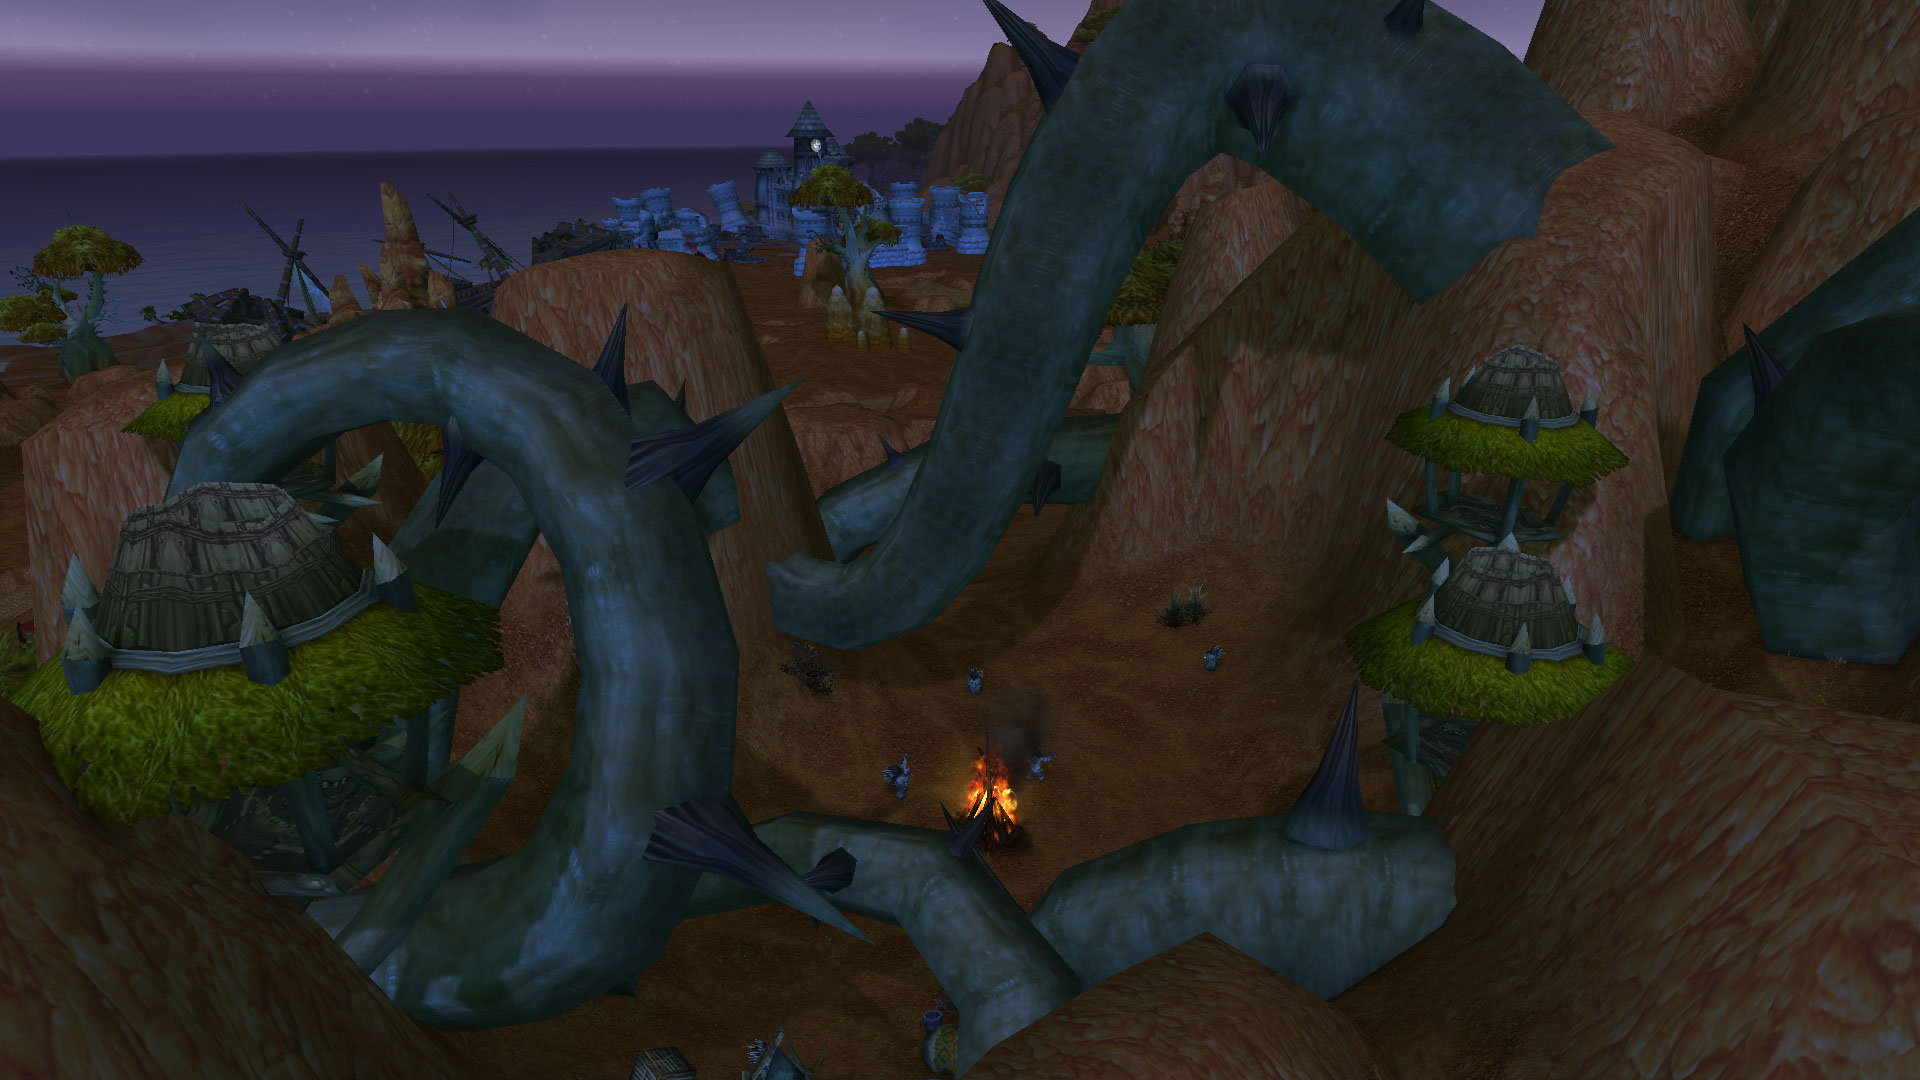
Imagine standing at the base of a vast, spiraling staircase, each step representing a trial, a riddle, and a key to the stories held within the walls above.
As you prepare to climb the tower of Karazhan, you’re not just stepping into Medivh’s lair; you’re embarking on an attunement quest that is as much about proving your worth as it is about unlocking the doors to a legendary part of Azeroth’s history.
You’ll need to gather fragments scattered across time and space, each guarded by forces that do not yield their treasures lightly. The path ahead is not for the faint-hearted, and as you consider the friends and allies to accompany you, remember that coordination and skill are your true keys to success.
The question remains: are you ready to face the echoes of Medivh’s past, and if so, what secrets and challenges await you at the summit of this arcane fortress?
Understanding Attunement Requirements
Before you can cross the threshold into Karazhan, you’ll need to complete a series of attunement quests that serve as your rite of passage. Nestled in the eerie shadows of Deadwind Pass, Medivh’s Tower stands as a testament to Azeroth’s storied past. Yet, its mysteries aren’t for the faint of heart.
To earn your place within its walls, you’ll follow in the footsteps of the legendary Anduin Lothar, navigating a path fraught with peril.

Your journey starts with a visit to the Auction House, where you’ll gather rare artifacts that whisper of the tower’s ancient magic. Each item you acquire brings you closer to unlocking Karazhan’s solemn gates. But be warned, the Karazhan attunement quest is more than a treasure hunt; it’s a challenge that will test your resolve and your courage.
As you piece together the puzzle of Medivh’s legacy, you’ll confront spectral echoes of a time long past, and only then will the tower acknowledge you as worthy. Remember, Karazhan isn’t simply a place, but a passage through history.
Can you bear the weight of such a legacy? The answer lies at the end of your attunement odyssey.
Acquiring the First Key Fragment
Embark on your quest for the first key fragment by venturing into the depths of the Shadow Labyrinth, where arcane secrets and guardians await your challenge. Nestled on the edge of the formidable Bone Wastes, the Shadow Labyrinth is a treacherous wing of Auchindoun, demanding both skill and courage to navigate its dark corridors.
You’ll need to prove your mettle against the dungeon’s formidable denizens. Cut your teeth on the various dungeon reps you’ve been cultivating; this is where they pay off. Your reputation precedes you, earning the trust and the necessary clearances to delve deeper into the labyrinth’s heart.
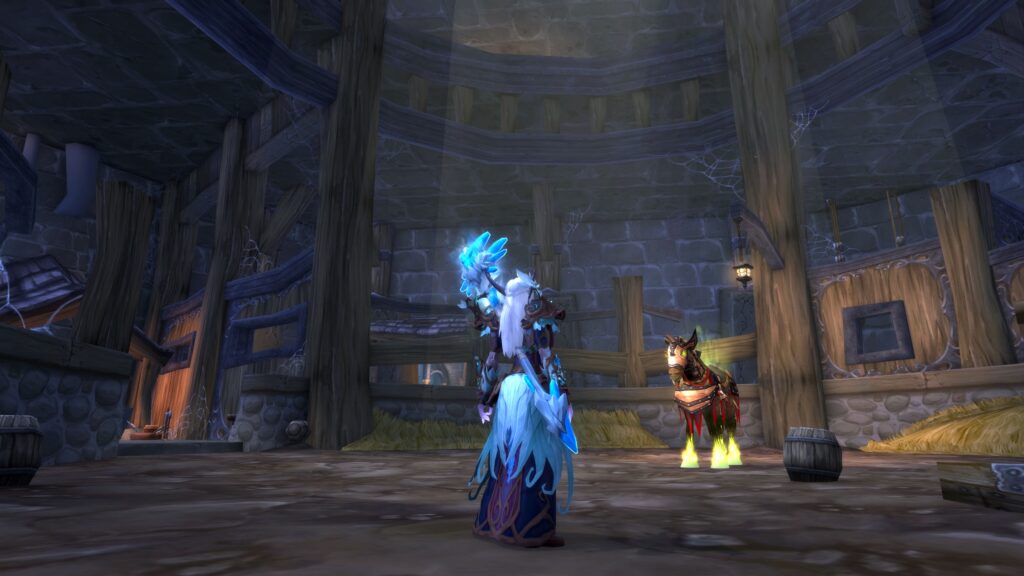
The path won’t be easy. Much like traversing the treacherous edge mountains of the Blade’s Edge or surviving the fiery forges of the Shattered Halls, acquiring the first key fragment is a testament to your resilience. You aren’t just fighting for a piece of metal; you’re earning your right to stand among Azeroth’s bravest.
Once you’ve conquered the labyrinth’s final guardian, the fragment will be within your grasp. But don’t rest on your laurels yet; remember, the road to Karazhan is long and winding, stretching beyond the peaks of Mount Hyjal itself. Each step forward is a step into the legacy of Medivh, and this first piece is but the beginning.
The Second Fragment’s Challenge
Having secured the first key fragment, your next challenge lies within the steam-veiled corridors of The Steamvault, where the second piece awaits, guarded by the cunning Coilfang engineers. You’ll need to navigate through the damp and labyrinthine depths of Coilfang Reservoir, located in the treacherous marshes of Zangarmarsh.
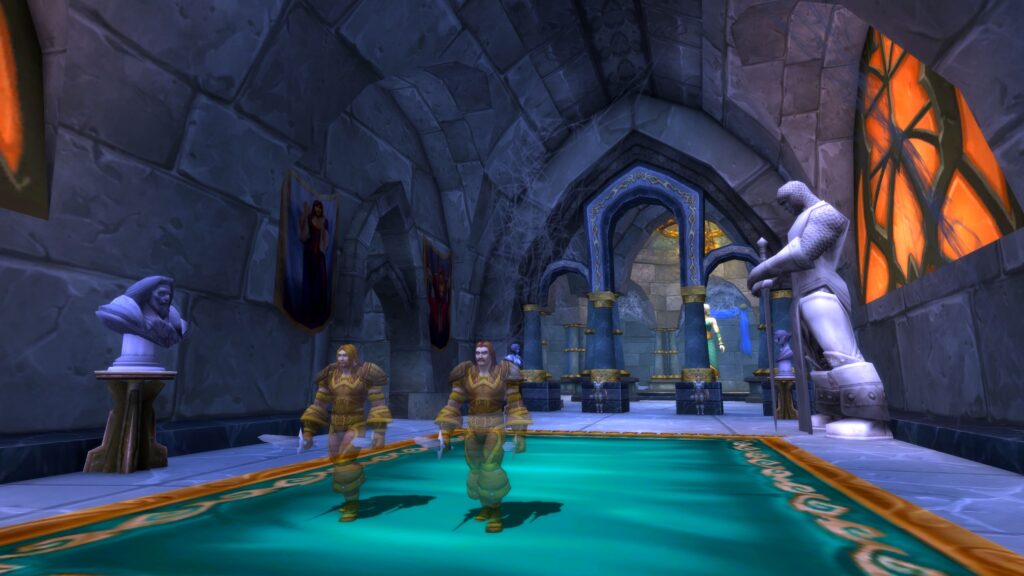
Before you dive in, make sure you’re well-prepared. You’ll face not only the engineers but also a host of aquatic horrors that call these submerged halls home. It’s essential to coordinate with your team to overcome the lurking dangers. The second fragment is within Warlord Kalithresh’s grasp, the final boss of this instance. You must disrupt his connection to the steam tanks to weaken him. Timing is crucial; interrupt his spellcasting and coordinate your attacks when he’s vulnerable.
Upon defeating Kalithresh, the second fragment of the key will be yours. This piece brings you one step closer to unlocking Karazhan’s secrets. Remember, each challenge is a test of your resolve, skill, and teamwork. Keep your wits about you, and you’ll surely prevail. The tower of Medivh awaits, but only the worthy shall pass its gates.
Securing the Final Piece
With the second key fragment in your possession, you’re now set to confront the final hurdle: the Shadow Labyrinth, where the third and last shard lies hidden. Nestled deep within the Auchindoun’s bone-strewn corridors in Terokkar Forest, this wing of the dungeon isn’t for the faint of heart.
You’ll need to muster all your courage and skill to navigate through the maze of ominous hallways teeming with members of the Shadow Council. They’re no pushovers, and you’ll face formidable adversaries, including the likes of Ambassador Hellmaw, Blackheart the Inciter, and Grandmaster Vorpil. It’s a gauntlet where every step could be your last, so stay sharp.

When you finally reach Murmur, the final boss, you’ve got to be ready for a titanic clash. This elemental force is the embodiment of sound and won’t go down without a cacophonous confrontation. Use everything you’ve learned, adapt quickly, and with a bit of luck, you’ll emerge victorious with the third key fragment in hand.
Once you’ve secured the final piece, you’re just a stone’s throw away from unlocking the secrets of Karazhan. Pat yourself on the back; you’re about to step into the lair of the last Guardian of Tirisfal, the enigmatic Medivh.
Completing the Attunement Ritual
Once you’ve gathered all three fragments, it’s time to combine them and complete the attunement ritual for Karazhan. Head to Deadwind Pass, where the ominous tower looms, ready to test your mettle. You’ll find Archmage Alturus outside, who’s been waiting for your triumphant return with the key fragments.
Approach him with the pieces, and he’ll initiate the ritual to forge the key. This isn’t just a simple matter of sticking parts together; it’s a magical process that binds the fragments to your essence, allowing only you to unlock Karazhan’s secrets. Pay attention as Alturus weaves the spell, for the arcane energies at play are a marvel to behold.
Once the ritual is complete, the newly formed key, glowing with potential, will be yours. You’re now attuned to Karazhan, and its doors will open to you. But don’t rush in unprepared. Karazhan is fraught with dangers, and it’ll take more than a key to survive its trials.
Conclusion
You’ve battled through hordes of unspeakable horrors, defied the very laws of space and time, and now, with all key fragments in hand, you’re ready to unlock the secrets of Karazhan.
As you complete the attunement ritual, the air crackles with ancient magic. The tower’s doors creak open, beckoning you into the heart of Medivh’s mysterious realm.
Steel yourself, brave adventurer, for within lies a challenge that will etch your name into the annals of legend!
Come to my blog, and let’s protect this world from hordes of enemies together.